How to import pictures from your digital camera
Mon, 02/19/2007 - 09:55 — George
![]() If you have a digital photo camera it is very likely that you will want to save your pictures on your PC. In this tutorial we will show you how to do that on Windows Vista.
If you have a digital photo camera it is very likely that you will want to save your pictures on your PC. In this tutorial we will show you how to do that on Windows Vista.
Before we begin you should look at your photo camera's battery status. If you have low batteries, you should change or recharge them. If your camera will remain without power during the importing process, your memory card might get damaged.
After checking the battery status, connect your digital camera to the PC. There are three ways to do that: using a USB cable, a Firewire cable or thorough a Bluetooth connection. For this tutorial we will use a USB cable to connect our camera to the PC.
First, connect your digital photo camera and press the Power On button. Windows Vista will detect the camera and will install the appropriate drivers.
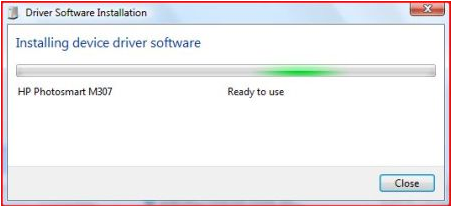
After the drivers installation is finished, the AutoPlay menu will pop-up.
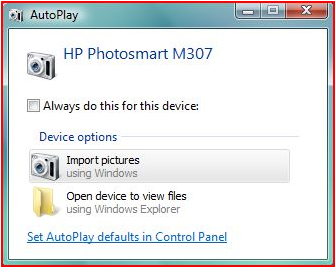
Select the option Import pictures using Windows.
In the bottom right corner of the screen, a small window asking if you want to tag the pictures will appear. You can type a general tag for the pictures that you are about to import. Tags can be very useful for organizing and finding your pictures.
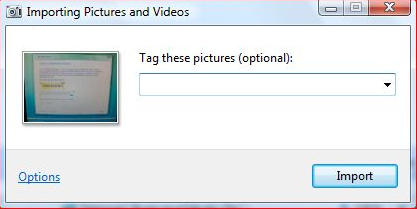
If you don't want to insert a tag just leave that space blank and click on Import.
If you want to customize the import settings, click the Options button. Now you can change the following settings: where to import the pictures (the default folder is Pictures - if you want another folder click on Browse and select or create that folder), the name of the folder (by default the name of the folder will be the date when the pictures are imported plus the tag you typed) and the file naming convention.
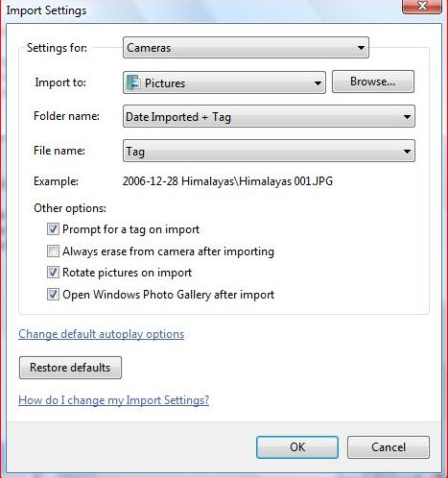
When you have finished, click the OK button. These settings will apply to all the pictures you will import from now on.
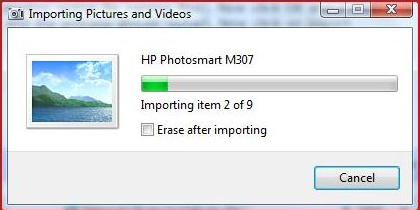
After you click on Import, Windows Vista starts moving all your pictures. If you want the pictures to be deleted from your camera after the import process is finished, click the Erase after importing checkbox.
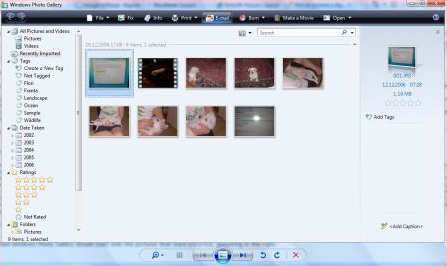
After the process is finished, Windows Photo Gallery will start and you will be able to see all the pictures that were imported.
Now, turn off your camera and remove the connection cable from your PC.
NOTE: For this tutorial we used a HP Compaq nx7400 and an HP Photosmart M307 digital camera.
Related articles:
Windows Photo Gallery
How to connect a video camera and import a movie

This work is licensed under a Creative Commons Attribution-Noncommercial 3.0 License.
Microsoft, Windows and the Windows logo are either registered trademarks or trademarks of Microsoft Corporation in the United States and/or other countries. Microsoft Corporation in no way endorses or is affiliated with www.vista4beginners.com.
All other products mentioned are registered trademarks and/or trademarks of their respective companies.
Comments
How to choose which pics I
How to choose which pics I wish to import, I dont c that option at all. Y must I waste time copying all the pictures if I have 4GB of pics, must I copy them everytime ?
Same problem - how do I choose which pics to import?
This is so dumb. It used to work much better in XP where we could select individual images and videos before tagging and importing them. Does anyone have a workaround for this?
re:
I have the same damn problem; and it seems like it would be such an easy explaination but i JUST CAN'T FIND ANYONE TO TELL ME!!! GOD am i frustrated!!! please eMail me @[email protected] if you hear anything, my name is Gregory. Thank you.
Vista cannot find pix to import
I have 76 pictures on my sony digital camera I have been unable to import. I keep getting a pop-up which states "No new pictures to import" using vista. I have also tried using cybershot software and get a message that "cannot find media to import". Why is vista not recognizing that there are 76 new pictures to import, and cybershot not recognizing a camera I have used to import pictures in the past?
I have also tried the suggestions on page 304 of "Windows Vista for Dummies" under "Windows Vista does not recognize my Camera" without success.
What else can I do to get my pictures imported?
Canon Powershot A80
I plugged my camera in, the system couldnt find drivers and Autoplay did not appear. I have installed the software for my camera, and the device manager see the camera and says it is working. I can't see the camera with Windows picture software or with zoombrowser and still no autoplay. Why?
thanks Shaun
Canon A40 with similar problem
I had a similar problem with my old Canon A40 camera and Vista.
I had to use my original CD that came with my camera to load drivers (Vista did not have them).
Second issue was that the only way I could load pictures from my camera was to again use the old Canon Zoom Browser ver 3,2 that came with my camera. Even the latest Zoom Browser ver 6,1 could not see my camera.
Vista photo stuff also could not see my camera.
how do I keep camera dates when importing photos?
I have a Canon powershot a610, and an hp pavillion with vista. When I import photos using windows is it possible to set up defaults so that the photos are sorted into files by date taken, as opposed to date imported?
Cannot change import settings
I cannot change any import settings, there is no small window when the AutoPlay window is open nor when I start importing the pictures from the camera.
"In the bottom right corner of the screen, a small window asking if you want to tag the pictures will appear. You can type a general tag for the pictures that you are about to import. Tags can be very useful for organizing and finding your pictures" (I can´t find that)
What do I do wrong?
unable to get options when importing photos in vista
The same thing happened to me this week. It worked fine before. I cannot choose where my photos should be downloaded. Has there been an automatic update to Vista that caused this problem?
Cannot change Vista Import Picture Settings Anymore
Same problem here. I haven't installed any new software on my computer - so what's the problem??
Post new comment